
Many websites send email to their users. Think about some of the websites you use. Two major uses of website email are email authentication and password resets. Email authentication makes sure your users are who they say they are (or at least own the email they are using), and password reset allows your forgetful users to regain access to their accounts without contacting you, the website creator and administrator. On this page, we’ll discuss how to send these machine generated email messages, called transactional email, to your users.
SendGrid
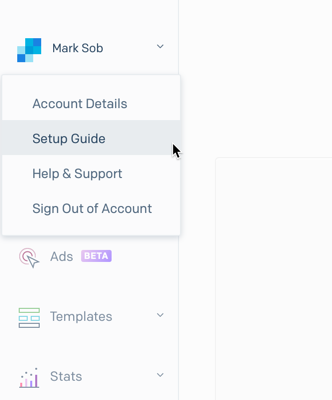
SendGrid is a service with a Python API for sending email. Start at their website. Make a free account. This account will allow you to send 100 emails / day, which should be sufficient for a student site. Once you’ve authenticated your email with them (see what you just did!), click on your username and choose the Setup Guide.
Then choose “Integrate using our Web API or SMTP relay”.
Then choose “Web API”
Then choose “Python”.
Take a look at this page. Most of it you can follow exactly. In your CS50 IDE terminal, there is one difference. The SendGrid page says to type:
pip install sendgrid
but you should instead type:
pip3 install sendgrid
It should install some software. Then make a new function that sends an email in a file like helpers.py. This way you can keep it separate from your other code. First write a function test_email() that sends a test email to you – and call it in the terminal. To do this type
python
At the command prompt. You should see a new prompt that looks like this: >>>
At this prompt type:
from helpers import *
test_email()
Check to see the email is there. If it is, you’re sending email! (Check your spam or junk folder – especially if the ‘from’ field in the email is set to something like ‘from_email@email.com’!)
Make a Plan
To use transactional email to verify users’ email addresses, we need a plan. Here is one flow:
- Users visit GET “/register” and fill out a form. This form has their email address instead of a username.
- Users push the submit button. The “/register” action is visited again, this time with a POST.
- A record is created in users and a new field “verified” is set to zero. A random string of characters is generated and also saved in a new field called “token”.
- An email is sent with a link to “http://yourwebsiteaddress/verify?token=thetoken”. In this way you can send a “GET” request with some data.
- A new route is created for GET “/verify”. This route checks to see if the token provided is in the database, and if it is, updates that user by setting “verified” to the value ‘1’.
Note that you can retrieve a variable sent with a GET. The syntax for a get command with one variable is shown above. To retrieve the token in the def verify() function, you can write
token = request.args.get("token")
This works just like request.form.get(“inputelementname”) but for GET requests.
6. The login() function needs to make sure the user is also verified. You could provide a way to send another email if an unverified user tries to log in.
Since you’ll be sending emails to individual users, write another function in helpers.py that takes an email address and a token as a parameter. Start it like this:
def send_confirmation_email(address, token):
And call that function inside the register() function’s POST section.
[box type=”info”] If we can send variables using GET commands, why do we need POST at all?[/box]