To follow along with this tutorial, you’ll need to have done the Pygame Tutorial through adding bricks.
In the Pygame tutorial game, we create and draw bricks. The bricks are 60 pixels wide and 20 pixels tall. In order to replace them seamlessly with an image, we’ll need to find or make an image that is the same size. To find a brick image, I searched google images for a brick image that was free to use. I found this one:
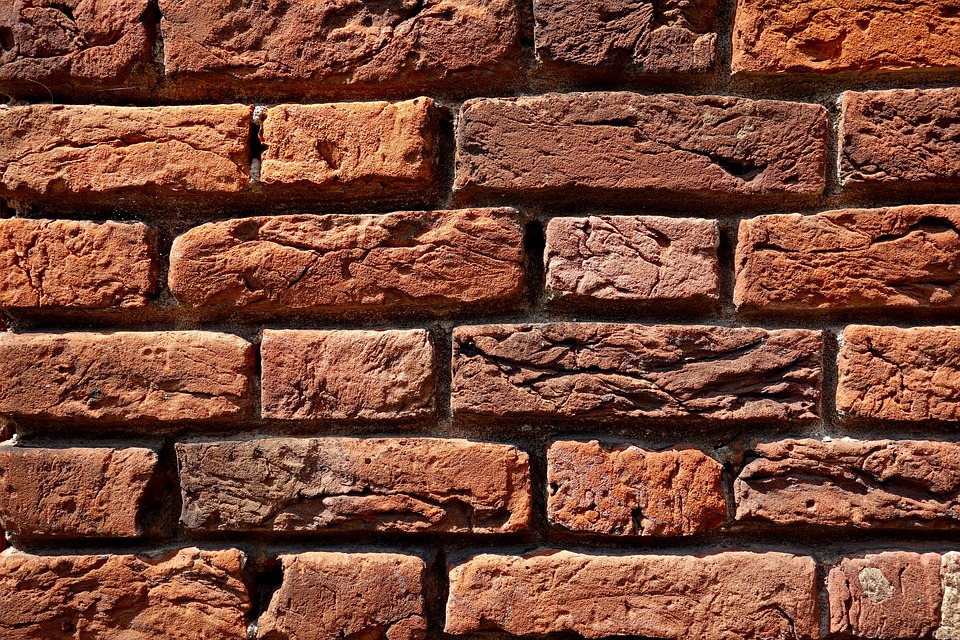
I opened this image in Photoshop, cropped the image to a single brick, and used File->Export->SaveForWeb to export the image as a PNG with size 60px x 20px. The name of this file is brick.png.
![]()
Make a Folder
You need to make a single folder to hold your game and its accompanying images (and sounds).
In that folder, put your python file along with the image you’ve chosen. Then in the setup, import the image into your project with the following line of code.
Load the Image

Draw the Bricks
Find the place in the code where you draw the bricks. Replace the pygame.rect line in that code with a new line that draws brick images instead. The loop should look like this:

When you run the game now, you’ll see the bricks look more like bricks!
Finding Game Images
In this example, I had rectangles of an exact size in my game and had to make my images that size to keep the gameplay the same. Often you’ll start by finding images – in this case make sure you know how big the image is before you create the pygame.Rect() for the object.
Look on the internet for the images you want. If its for a class project, you can copy stuff off the internet – just make sure you cite your sources. A good way to do that is as comments right in the code. Any line starting with a # is a comment in Python and won’t affect the game.
When I wrote this, everyone in the class was using a school computer to do the work, and so had access to Photoshop. Now, you might want to try a web based image editor like Pixlr.