
Hello, Flask
Note: This tutorial is intended for students using the CS50 version of the Cloud9 IDE. If you’re not using this same environment, the tutorial should be fine but you will need to install flask and you’ll need to add a few lines of code to the end of your app.
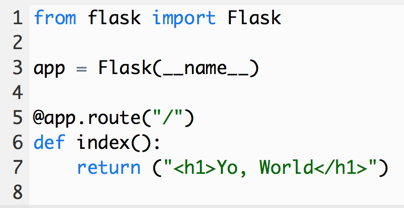
In this tutorial, you’ll build a small Flask app that asks you your name, and responds with a simple web page. You might find Flask confusing, simply because there are so many kinds of file you need to write. We’ll start with the absolute minimum – a single python file. Make a folder called “Flask1” in your workspace. In that folder make a file called “application.py”, and add the following code:
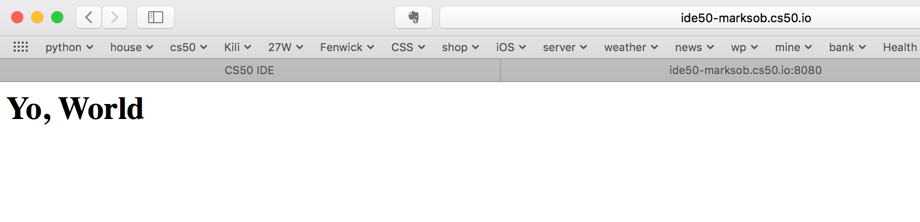
In the the terminal, navigate to your new folder, and run the command:
![]()
This acts much like “http-server” You should get a link to click, and your browser should show the following:
You’ve written a Flask app! The most mysterious line in the app you’ve written is probably the one where you wrote:
@app.route("/")
This kind of function is called a decorator. You can read more about decorators here if you want, or you can just keep using them for now.
This line tells Flask that if an http request comes in for “/”, the index function should be run. The index() function returns a little snippet of html, which could be a whole html page but isn’t here for brevity.
Templates
Instead of putting html code right in our python program, we can move our html into separate files. Since an app will likely include a number of similar html files, we can create one “layout.html” file that all our html files use. We’ll also make one “style.css” file. Inside the “flask1” folder, make two folders, called “templates”, and “static”. All your html files will go in the templates folder. Your style sheet will go in the static folder.
We need a way to execute code and insert variables into our html files, and Flask gives us a way. The name for this is Jinja, which is a template engine for Python.
Using Jinja, our layout.html file looks like this:
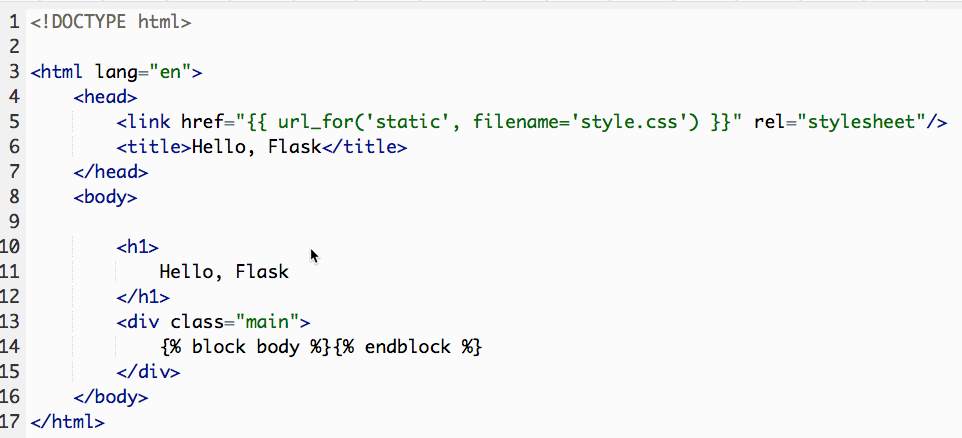
This code has two lines that are not just html. The first is line 5, which uses a double curly brace {{ }} syntax to add python code, in this case the result of the url_for() function, right into the html.
The second line {% block body %}{% end block %}, is what makes this a layout file. We can insert whatever code makes up the content of our page in place of this block. A layout file can contain as many blocks as you want. Just give each one a different name.
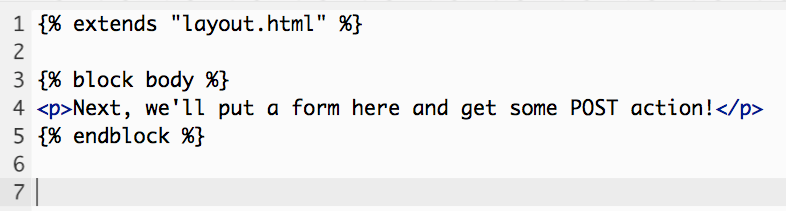
Now create index.html so that it uses the template, like this:
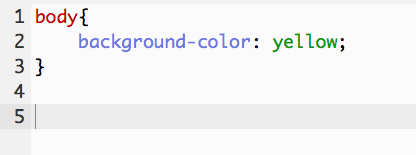
Also, in the static folder, put a style.css file. I’ve added one style but you can add more.
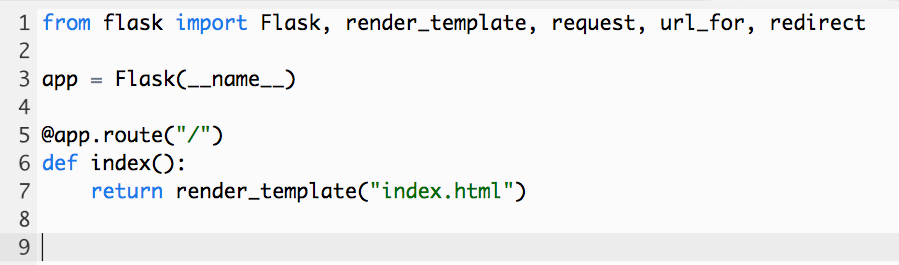
Finally, we’ll go back to application.py. In the initial import, we’ll need a few more functions from Flask. Then, replace the direct return of html with a call to Flask’s render_template() function.
When you run your application now (flask run at the command line), you’ll get a little more out of your app. But it isn’t really interactive yet.
A Form
HTML Forms allow the user to enter data into input fields, and send the data to the server using the POST method of the HTTP protocol. You can learn more about HTML Forms here.
Add a form to index.html so that it looks like this:
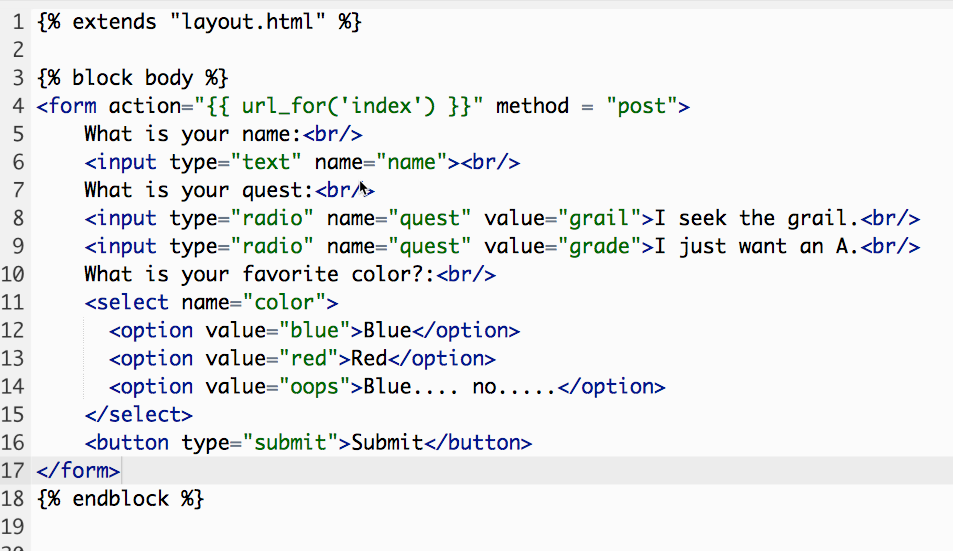
Note that each form element has both a name and a value. Those are what gets passed into application.py for our use when the form is submitted.
Run the program, visit index.html, and submit the form. You should see the message “Method not allowed”. So we need to make Flask allow the POST method on index.html.
POST
In application.py, we need to handle the POST request. Here is what our new application.py looks like.

This example has some logic in it, using the information provided by the user. The print() functions show how you can do a little print debugging, even with Flask. They aren’t necessary for the program to run. The variables name, and maybe quest, are passed to their templates. The template oops.html looks like this:

You can see how the value of name is inserted into the HTML.
The template cross.html uses both name and quest.

Try the program now. If there are any errors, see if you can figure them out by reading the program output on the command line and by using print() statements.
To do a little more, try adding a “Play Again” link to oops.html and/or cross.html. Use url_for() inside an <a href=”…”> tag.
Submit
When you’re ready to turn it in, use:
submit50 sobko/checks/flask1
in the CS50 IDE